Other Garrus Armor Pieces
Sarrah Wilkinson - 8/17/2013
This is one of a series of blogs about how I made my Garrus costume. View everything related to this cosplay here!
Hello again! The previous post, Building Carapace Armor for Garrus, started us in on the armor making process. This one's mainly going to be a series of pictures showing the foam builds for the other pieces of armor.
Lumping the remaining armor pieces into one post in no way implies they were much less complex than the carapace itself! In fact, the main reason I'm covering them in one single post is because I was getting down to the wire and only occasionally remembering to stop and get pictures.
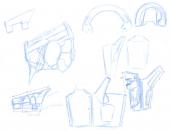
Like the carapace armor, I started by studying and sketching the various parts of Garrus' armor, and coming up with ideas for how to build them. For example, the bottom middle drawing there has an idea I ended up using for the back of the shin armor pieces, making one of the leg spurs part of the pattern.
There was a step before I made each armor piece that I rarely stopped to get pictures of. I made patterns for each piece, and often times for the individual armor details, before I cut them out of foam. The patterns were most often just made from newspaper, or sometimes tracing paper if I needed an easy way to mirror a design.
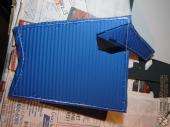
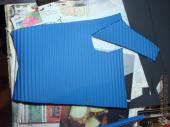
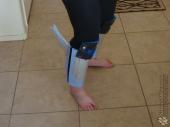
Here's that leg spur idea I mentioned above in action. In the second picture, you can see the foam is still mostly flat, but I've attached a piece of my trusty 16 gauge steel wire to the inside and used it to bend the spur part out.
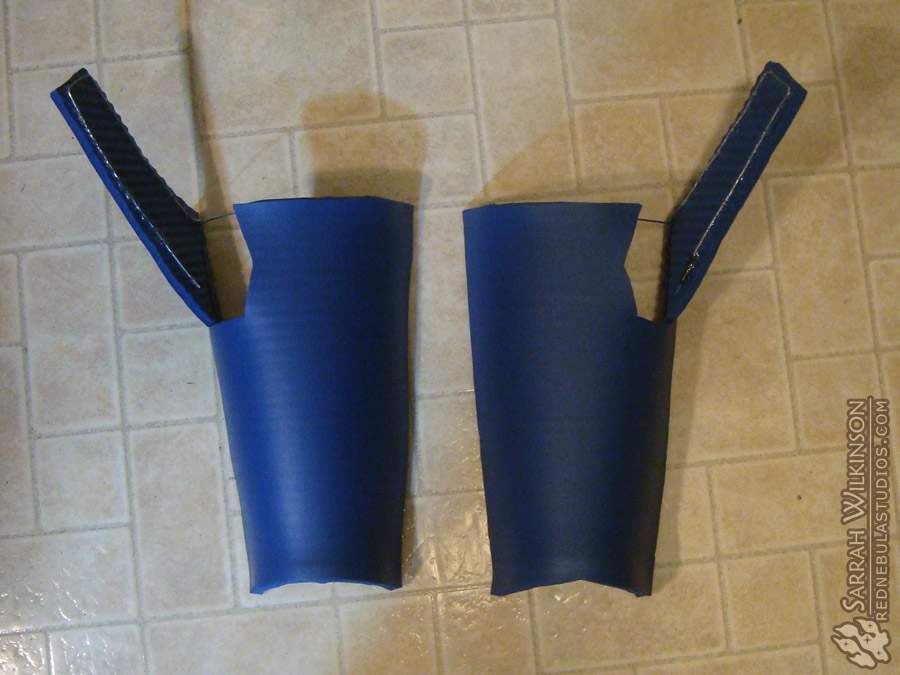
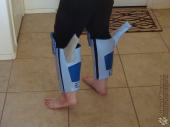
Next, I bent the wire so each piece fit around the backs of my shins. Like the carapace, this is using that yoga mat foam which I don't really recommend, but it worked well enough for this. The EVA foam people normally use for this kind of armor can be heat-formed and wouldn't need an interior wire support.
Once I had the thicker base pieces of foam shaped the way I wanted them, I built details over the top with craft foam. The shine is from the Mod Podge I used as a sealer before painting, but I'll talk more about that in the next post.
The front and back halves of the shin armor are attached together with strips of cloth. The wider black portion on my inner legs is where they velcro together.
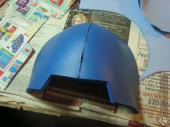
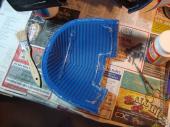
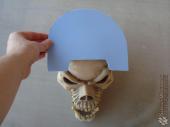
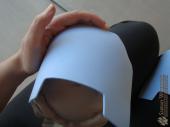
Next up are the shoulder pieces. I started with more of the yoga mat foam and formed a curved base shape. On the back, pieces of wire help keep the correct curve shape. To get the external pieces of craft foam into the proper domed shape, I found an object of approximately the right shape (Say hello to my snarly skull dude!) and used a heat gun to warm the foam up until it was malleable enough to form into a curve. Worked like a charm!
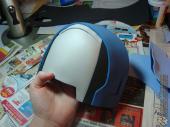
The first picture shows as I'm attaching one of the heat-curved pieces of foam to the base. The right side has been glued down, the left side is still loose. It's not exact, but as you can see in the second photo, those small wrinkles around the edge get nicely covered up by the other detail pieces. (The final picture shows the other shoulder, if you're wondering about the color change.)
This is the only in-progress picture I have of one of the upper arm pieces. It's a fairly simple piece; one base piece of foam, then a piece on top cut into the same shape, but with some detailing cut into it. It is held together under my arm with a piece of velcro attached around a wire loop.
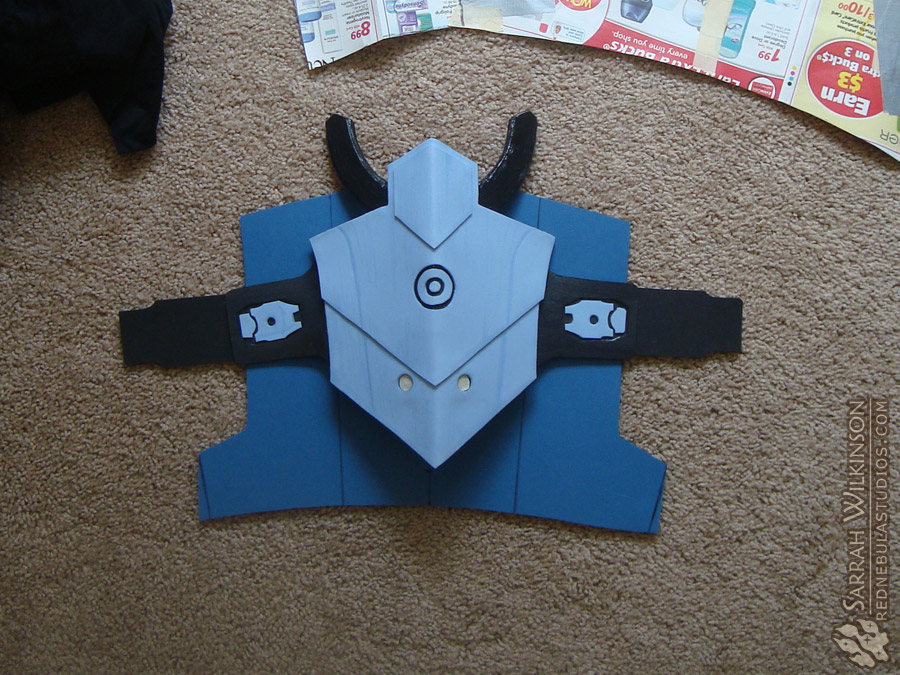
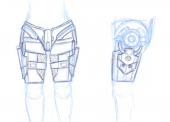
Next is one of the pieces of thigh armor. Garrus' armor goes all the way around his thighs, but turians' legs are spaced quite far apart. To prevent armor from making a lot of noise rubbing together, I elected to attach the exterior armor pieces to a cloth "sleeve" I could wear around my leg. Because this piece had lights inside of it, it was kept in separate pieces until right up near the end. I'll show it all assembled in a future blog.
I also got lucky and found a few pieces of slightly thicker 6mm EVA foam at a craft store, only to find out they were the last pieces in stock and were being discontinued. (*grumble*) It turned out to be great stuff to work with, and I used pieces for both the thighs and the hip armors, as well as the bottom of the feet.
Here are the hip pieces in progress. Because these pieces were going to take the most punishment as I moved about, sat down, etc., I reinforced them with fabric. It worked great - the foam has sustained a bit of crinkling, but shows no sign of tearing, despite quite a bit of time in costume.
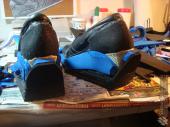
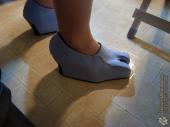
The feet - at least, the original pair of feet - were made from wedge heeled shoes covered in foam. They looked okay (not perfect), but the bigger problem is that they were not very comfortable. They did add quite a bit to my height, which was fun - I'm pretty tall anyway, so I was over 6ft with these on.
Ah, the bracers, one of those very rare occasions when I remembered to take a picture of one of my patterns! When you use a paper pattern like this, just keep in mind you'll need to allow a little extra foam for anyplace the armor piece goes around your body, since foam is thicker than paper.
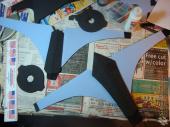
These pieces of armor were slightly unusual in that they had a depressed area leading to a strip of light, rather than just a circular light panel. To get these right, I built them up in layers. Those holes up at the top of the photo will later be hidden by another layer; that's the area where the battery will be fitted in.
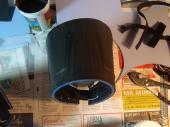
Last but not least, here are the foam pieces for the hands. All of the pieces that will be fitted over the fingers have been heat formed into a curved shape and attached (just with masking tape) to a piece of PVC pipe to make it easier to seal and paint them. Likewise, the pieces for the knuckles and the backs of the hands are attached to a board with tape. They will be fixed to the three-fingered gloves I sewed after they're painted.
You can also see a glimpse of the finished foam build for each of the bracers, up at the top of the picture.
That pretty much covers all the armor now, aside from the visor which I'll do in a separate post. The next blog, Painting Garrus' Armor, covers how I took all of this stuff from looking like foam to looking like tough metal armor!
Categories: Costuming
Tags: armor, cosplay, costume, Garrus, Mass Effect, turian, Vakarian
Live Date: 8/17/2013 |
Last Modified: 8/17/2013
