Tutorial: Making Latex Texture Stamps
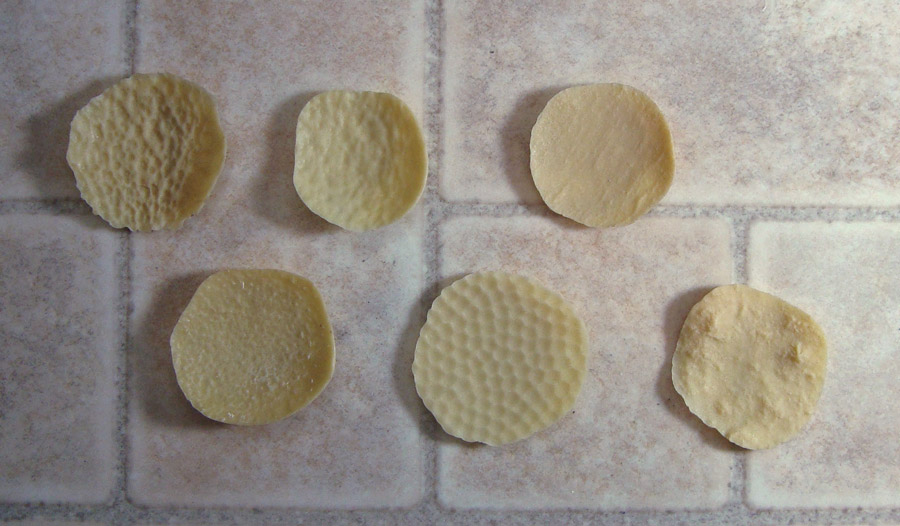
This tutorial will demonstrate how to make a simple texture stamp out of rubber latex. In this case, I'm making a stamp from the lovely skin textures of two fruits, an orange and an avocado. You can pull textures from pretty much any non-porous surface.
Inspiration came from Evan Campbell's Skin Texture Tutorial (Warning - his tutorial is a bit gruesome - incredibly lifelike, though!)


Find a non-porous object or material (something that water would not soak into) with an interesting texture. Here I have chosen the skins of an orange for its skinlike, pitted appearance and an avocado for its deep, folded, scaly look.
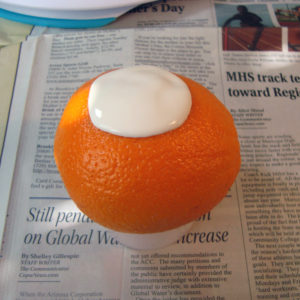
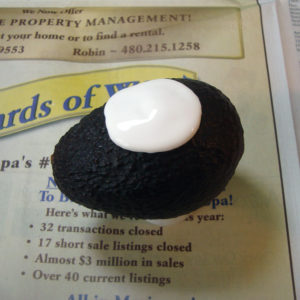
Make sure your object won't roll around. You can put some clay or a base underneath to keep it steady. Pour a small amount of rubber latex onto the object, about 1.5" in diameter. Make sure you don't spread the latex too thin. You want it at least 2 mm deep.
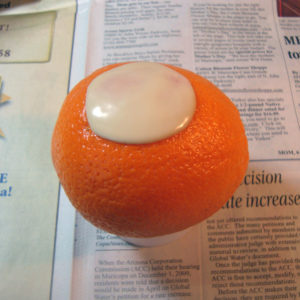
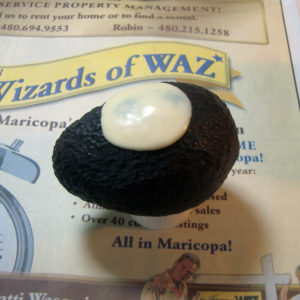
The latex has a distinctly different appearance once it has dried. Make sure it appears dry throughout and doesn't show any traces of whiteness underneath.

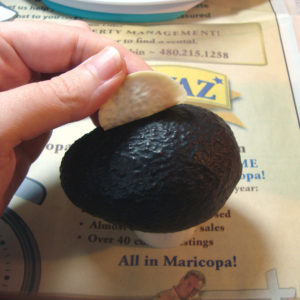
Peel the latex off of your object. It should pull off of a non-porous object easily.
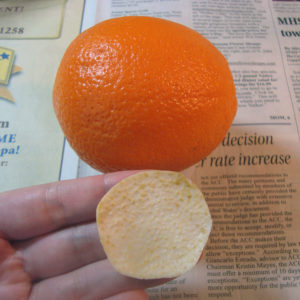
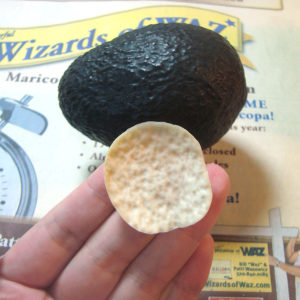
The resulting texture stamp can now be used to create interesting, lifelike textures in soft clays.
I've pulled texture stamps from all kinds of objects, from fruits like these, to sandpaper, rocks, and even the pattern on the floor of our shower. Keep your eyes open for interesting textures, and feel free to experiment!
If you found this helpful, consider leaving us a tip or becoming a Patron! Your generosity helps our small business thrive.
Categories: Costuming, Tutorials, Materials, and Tools, Tutorials, Tips, and Tricks
Tags: avocado, fruit, orange, rubber latex, sculpting, skin, texture stamp, tools, tutorial
Live Date: 4/14/2013 |
Last Modified: 9/29/2022