Molding and Casting Garrus' face
Sarrah Wilkinson - 6/22/2013
This is one of a series of blogs about how I made my Garrus costume. View everything related to this cosplay here!
In the previous post, I showed the process of Sculpting Garrus' Face. This blog will show how the sculpture went from clay to latex, and the continuing process of building the mask.
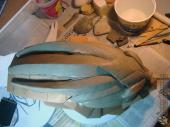
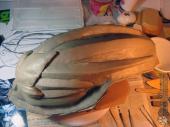
I decided to make a one-piece mold for the face. Before starting to make the mold, I needed a base to catch the plaster runoff. I started by building a wall of cardboard pieces around the base of the sculpture, attached with hot glue.
Using the cardboard as a support, I then built a wall of clay around the sculpture. Note the edges are turned up to catch as much of the plaster as possible if it drips.

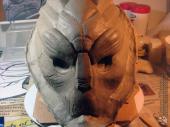
Before molding, the whole sculpture gets a coating of Krylon Crystal Clear gloss spray. This helps with cleaning out the mold later on. It also protects the sculpture from minor damage during the molding process. Since oil-based clay never hardens, you have to be careful not to damage or deform it while the mold is being created!
The final step before making the mold? Take half a hundred photos just in case! Making a mold almost always destroys the original sculpture, and a severe mistake means it may need to be completely re-sculpted. (Happily, this mold came out with only a couple of minor flaws, and worked just fine for my needs!)
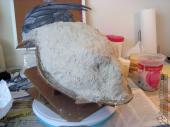
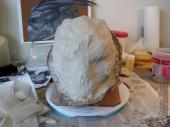
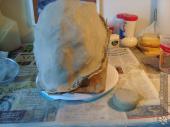
The first couple of coats of plaster can be a bit messy, as the main concern is making sure it gets into every little detail and crevice of the sculpture. The plaster I'm using here is a gypsum cement called UltraCal 30. In the second photo, you can see strips of burlap - this is soaked in plaster and added to the mold for strength.
The final coat is applied and then smoothed down with a wet sponge. The whole thing is now allowed to completely dry and cure. Plaster heats as it cures, so you'll know it is done when it's cool to the touch. (NEVER apply UltraCal 30 to your skin; the curing temperatures can be hot enough to burn.)

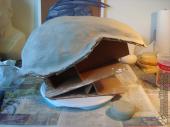
Here, I've removed the bottom support and started testing for how to remove the rest of the support structure from the mold.
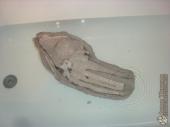
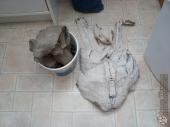
The plaster bandage and papier mache support did its job well and was definitely too tough to remove without risking damage to the mold itself. A short soak in the bathtub softened it right up. Soaking also loosens the clay from the mold and makes it much easier to remove.
The original support (which now more resembles a pissed-off rabbit than a turian) is no longer useful and thus is discarded. However, all clay is peeled off and kept, as oil-based clay can be reused over and over again.
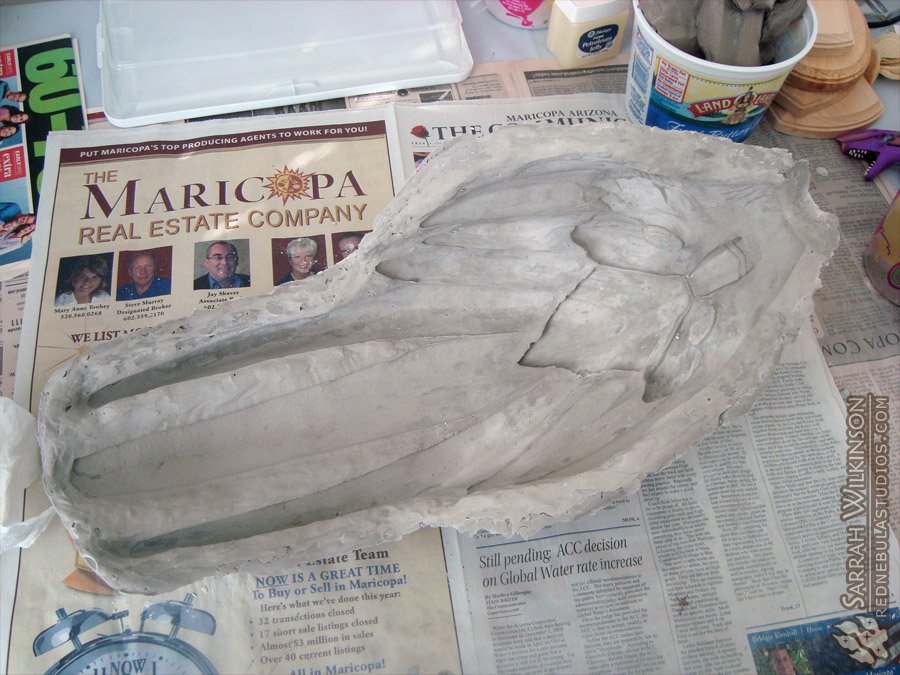
The interior of the mold has now been cleaned out of any clay residue and is ready for the next step.
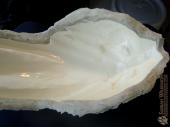
Rubber latex has been poured into the mold. The excess you see at the bottom there was then poured back out. This was the first casting attempt, just a single layer of latex. I do this to help spot flaws, and undercut areas that might require special attention when casting.
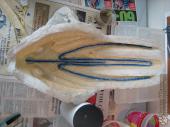
In order to keep the crests rigid and to make the mask look and feel more like scaly plates than latex, I included an inner "skeleton" of wire and hot glue. This then had another layer of latex poured over it. The crests were built up with a few more layers of latex.
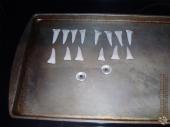
The teeth were sculpted from polymer clay and baked. Those round things are glass cabochons with a spot of black polymer clay in the center - part of my first attempt at eyes.

The final face cast required a couple of small repairs, but overall came out quite nicely! The eyes here were an experiment, the glass cabochons from the previous photo with the iris color painted on. I was not satisfied with the result, and 20mm cabochons turned out to be far too big to look right!
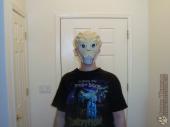
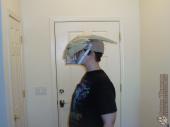
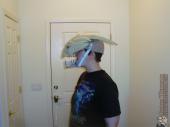
The teeth have been attached here, but the face piece has not, yet. I'm just testing to see how the whole mask looks together, and how the jaws are working.
These are the second set of eyes, a pair of slightly smaller cabochon-based eyes, this time ones I bought from an online vendor. I believe they were 16mm this time. I decided later that the color was wrong, and still was not happy with the size. Turian eyes are tiny! I would actually end up going through three more pairs of eyes before I was finally happy with them - but that's a story for a future post.
The next blog, More Garrus Mask Work, continues with the mask, covering how I made the bottom jaw, mandibles, inside of the mouth, and the beginnings of building the neck.
Categories: Costuming
Tags: cast, cosplay, costume, eyes, Garrus, Garrus cosplay, glass cabochons, mask, mask latex, Mass Effect, mold, oil-based clay, plaster, polymer clay, sculpture, teeth, turian, Ultracal 30, Vakarian
Live Date: 6/22/2013 |
Last Modified: 6/22/2013

