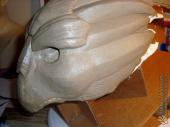
Sculpting Garrus' Face
Sarrah Wilkinson - 6/7/2013
This is one of a series of blogs about how I made my Garrus costume. View everything related to this cosplay here!
In my last post, Garrus - Planning and Concept Sketches, I showed my concept for building the mask - the front/top head piece was going to be separate from the lower jaw, neck, and mandibles. This post will show how I started to build the support structure for the mask, as well as the sculpting process for the top of the head.
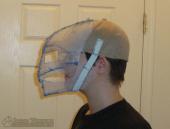
Here's the part that came first, a very basic skeleton made of plastic canvas, built based on my concept sketches and measurements. While the build is still very simple at this point, this is probably the single best picture to understand how I built the mask. You can see how far Garrus' face will be in front of my own, how the top and back of my head will fit in the costume's neck, how the jaw mechanism is built off of an old baseball cap and an elastic strap.
This was one of the points during the build where I actually took a bit of video, too!
Masks I had built previously relied on a hinge and a strap across my chin to keep the jaw closed. While that idea worked - mostly - it was very uncomfortable and tiring on my jaw. Using the hat-and-elastic approach like this means the jaw was at rest when closed, and opened smoothly with my own jaw. For comfort, I later added pieces of felt where the jaw contacted my skin - but this is effectively the basis for the whole Garrus mask.
Here, I went ahead and built the rest of the basic proportions of the mask from plastic canvas. While this gave me a good base to start the sculpture off of, note that the crest pieces you see here did not become part of the final costume. I also realized a little way into the sculpt that the shorter crests on the side of the face were positioned incorrectly - fortunately, I was able to fix that without too much trouble.
The head cast armature there is from The Monster Makers, and served me very well. You'll see him turn up in many pictures as time goes on!
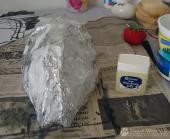
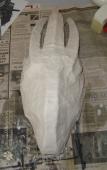
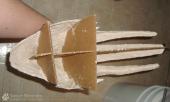
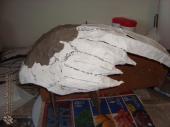
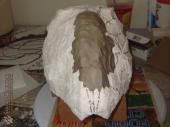
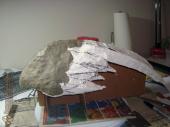
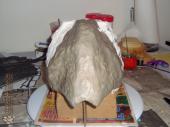
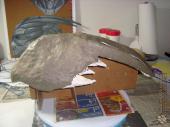
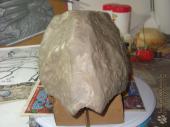
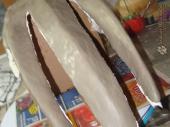
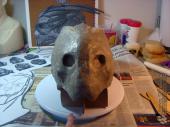
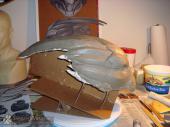
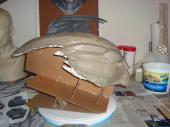
At this point, I was ready to start sculpting the top portion of the face and head. To start the oil-based clay sculpture, I realized that I needed a solid base to work off of. I covered my plastic mesh "skeleton" in foil, brushed on a layer of petroleum jelly, and used plaster bandages to make my base, strengthened with papier mache underneath. Rather than trying to position this on the head armature, where it would slip around, I decided to just build a support out of cardboard, as you see in the third picture. I later added additional support to change the angle for easier sculpting, visible in many of the pictures below.
Starting to add a layer of oil-based clay. You can also see where I drew some basic guidelines for facial features.
The base is set up on a turntable. If you do any work like this, I HIGHLY recommend a turntable! This is just a cheap one made for cake decorating. You will not regret having the ability to quickly turn your sculpture as you work!
Front part of the face now covered in a layer of oil-based clay. I also decided I didn't like some of the proportions of the crest. You can see in the second picture where I adjusted my drawing on the plaster cast base.
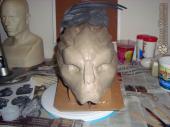
The very rough first layer of oil-based clay has now been added.
Note another important addition in the background, there. References! I printed out a front and side view of Garrus' face to almost exactly the final proportions I was going for, and used that to guide the sculpting process. A character's face is too important to just guess at!
Here, I've started to smooth out the clay on the three main crests.
Still building up clay to get the basic facial shapes correct.
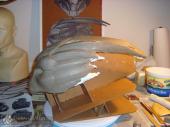
Building up the crests on the top a bit more to get the shape correct, and adding the shorter crests on the sides. At this point, I've also added a wedge made of cardboard to give me a more comfortable angle to work at. The new pieces of cardboard are just attached to the base with hot glue.
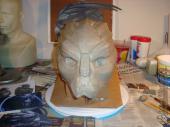
I'm continuing to refine the crests, added the brow and forehead plates, and given the cheeks more definition.
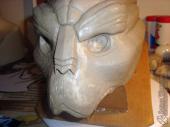
I won't lie - it took me at least 4 tries to get the nose right! Turian noses are quite boxy things, and make the entire face look wrong if they're not sculpted and positioned correctly! This brings up another point, though. If you're not happy with a part of your sculpt, take the time to fix it. It's worth the extra time to get it right.
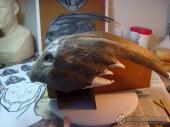
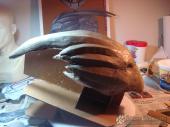
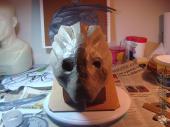
Before the final details are added, I smoothed down the sculpture. You can do this with tools up to a point, but for the final smoothing, I found that mineral spirits gave me the best result. The technique I like most is cutting a piece from a pair of nylons, dipping it in mineral spirits, and running that over the sculpt. It melts the surface of the clay a bit, just enough to smooth it nicely.
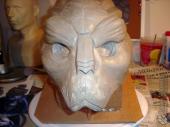
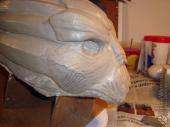
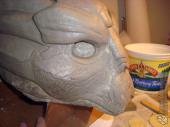
Now I've started to add details, including his scars. I also added some color printouts to my collection of references at this point to get the finer details of his face correct.
A closer view of the details on the front and side of his face.
The final set of photos shows where the details have been smoothed out, and where I have added texture to his skin and plates. The texturing is done with stamps. Check out my tutorial, Making Latex Texture Stamps, if you're interested.
The next Garrus progress post, Molding and Casting Garrus' face, shows how I made a mold of this sculpture.
Categories: Costuming
Tags: cosplay, costume, Garrus, Garrus cosplay, Garrus Vakarian, mask, Mass Effect, monster clay, oil-based clay, sculpture, turian, Vakarian
Live Date: 6/7/2013 |
Last Modified: 6/7/2013
